Friday, March 25, 2016

Food Photography: Part Seven-Prop styling

In talking about props, one of the first thing that comes to our mind is the background.

I took the series of photographs of mango pastry with different backgrounds


I liked the white background the best, although I liked the black too. Changing the backgrounds creates the different outlook.

 Background has many characteristics. It has colours, texture, pattern and reflectivity.

Several types of background can be used for food picture, like paper, fabric, foam board, wooden boards, baking sheets, flooring material, and even stones.

Attention has to be paid for selecting the background, for one thing, it should support the photograph and it is able to tell a story,

Napkins, kitchen towels and tissues can also be used as props


Napkins add another element to the story. They give viewers one more clue in solving the mystery in the photo. The main reason why the napkins work is that they add depth to the story.

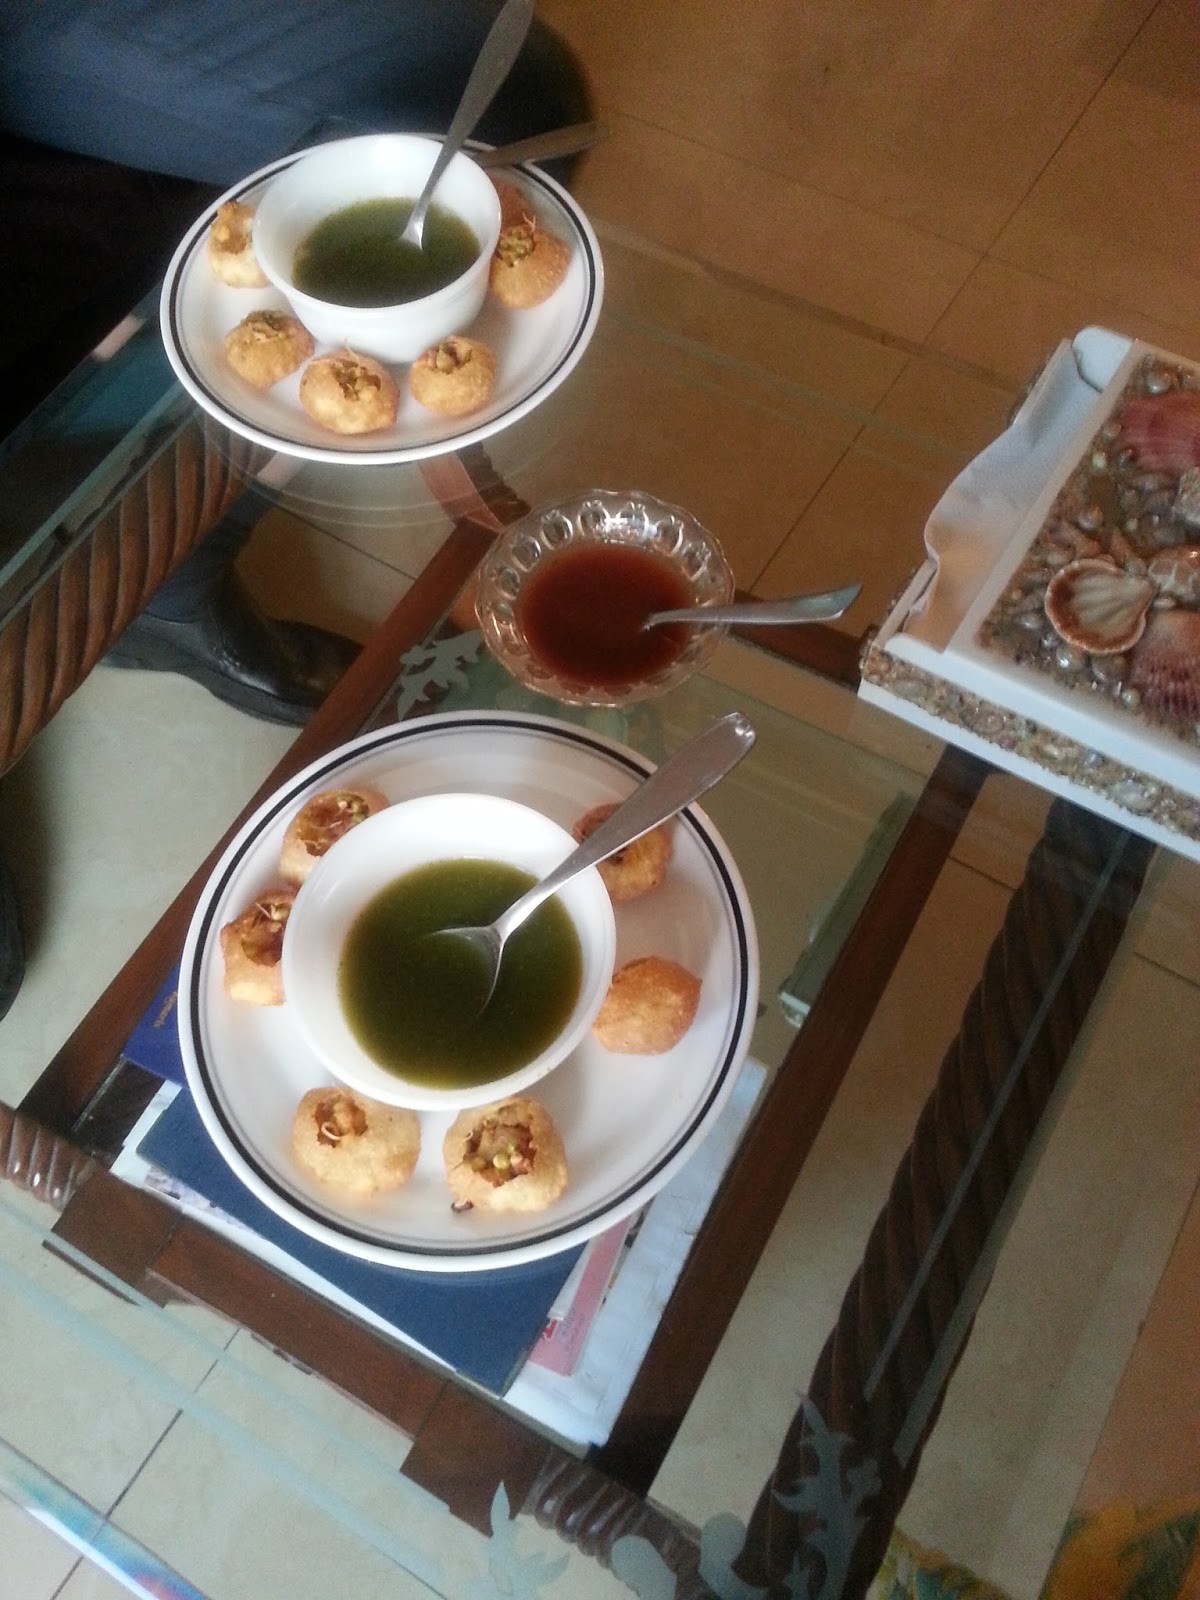
Dishes and plates are another important props used in food photography.

I clicked set of pictures using different plates and got different results of completely different story


Using white plates are simple and fastest way to improve food photography, they are distraction free, they don’t conflict with the food and are versatile.  They can be used in almost all the setting.

Next colour is lighter shades like light blue or light green. Black plates also work in some situations. Avoid multi-coloured plates with patterns. It is better to consider the material of the plates too. Ceramics, plastics and paper plates can be used. But if there are scratches on the plates then it might look cheap..

On the other hand, there are plates that have self colour prints. These spell elegance and are very suitable for story that communicates class.

Courtesy: Grateful to Neel for his guidance in Learning Food Photography in 30days


Saturday, March 19, 2016

Food Photography Part Six – Lighting

Lighting is the most important aspect of food photography. Too little light makes the food look dull, too harsh light spoils the image. Using the correct light that show the original color of the food is the skill that has to be learnt.


Took this picture of Macaroons in a restaurant in the afternnoon at 3pm The place was well lit, plus there was yellow light bulb just above our dining table..I moved the plate such that light was focussed just on one..hoping to get DOF


I clicked few pictures with light coming from side window and some pictures I clicked with the light coming directly on the food from opposite direction.
I realised that the best pictures I had got were when I clicked the picture from the side light.

However, when the light is coming directly from opposite side, it creates shadows. We can modify light with the use of reflectors, bouncers or blockers

We can use reflectors (can use white foam board) to change the direction of the light and reduce shadows.

We can use diffusers (white plastic bag) to soften the harsh light

We can use blockers (blinds)  to block the light falling on articles where u do not wish the light to fall

To capture the right tone, we can adjust the white balance. Bluish tone works better for cold subjects and yellowish tone works better for warmer tones.

I went to restaurant yesterday and was aware of all the lesson learnt so far, and did try many angles, paying attention to the light and frame...we were in the patio of the restaurant, evening time around 6;30pm. Clicked many shots of fish and chips, but this one I liked the best, 


With practice, one learns to understand the right tones in the food and how one can achieve it.

Tuesday, March 8, 2016

Food Photography: Part5 – Telling A Story

Besides angle of the camera, depth of field, framing and lighting, the picture should be able to tell a story.

Before preparing to shoot, you could decide what you wish to show. What time of the day it is, what is the back ground story, how many people are there in the room, where you are working,(inside the house or out in patio) are you using natural light or using a flash.  Lots of things to consider before you get ready to click a picture.


Have taken this photograph from 90 degrees top to down, a more light on the vegetable would have done justice to this picture. also the cup containing buttermilk could be little bit smaller.


This pictures tells the story of preparing a snack in the evening, the potatoes are already peeled (you can see the peels on the tray) the potatoes are grated too, its evening time, and light is from window opposite it. I could have taken a smaller container for putting grated potatoes....


A ready plate of patties served with onion salad and green chutney.


Lighting plays an important role in photography. this picture is taken with natural light coming from the window on the left. Tried many different angles and positions but this image I like the best.


Saturday, March 5, 2016

Food Photography: Part 4: Frames

In Food Photography, Framing is the presentation of the pictures. Photographer decides what he wants to show.

Whether he wants horizontal or vertical, what props should he use to enhance the presentation, and the story he wants to tell through his pictures.

This is the original picture I took in vertical frame.  This is clicked at 45 degrees with the natural light coming from window behind the camera.


The decision I need to take will be:
What to include and what to crop out,
Where the subject should be in the reference to the frame
What story I wish to tell

And this is after photo-editing.


The story I wish to tell is that there are two people enjoying the snack with one plate of sauce to share. The shoe below the table shows that its male companion. Spoon covering the puri shows that somebody has shifted the spoon. Some puris missing means that party has already begun…

The actions I have taken are
I have blurred the other plate
Cropped out the extra tray
And adjusted the brightness

However, I am not happy with the spoon covering the puri.


What do you think about this picture??

PS: My food photography guide Mr Neel

Thursday, March 3, 2016

Food Photography Part3- Field Of Depth

In food photography, depth of field plays a very important role in popping out the picture from the props. It can tell a story of what the picture is trying to project.

I want to show that there was tea party and a special raspberry tea is my focus.

When we look at the picture, our attention should go to the subject and not be distracted by props.

Props should be used to add to the field of depth that can tell the background story.

These are the pictures I took today.


My food photography guide Mr Neel

Related Posts Plugin for WordPress, Blogger...

p1

Thank you for your appreciation